
Add a Virtual Hard Disk to the Boot Menu
Native Boot allows you to create a virtual hard disk (VHD), install Windows to it, and then boot it up, either on your PC side-by-side with your existing installation, or on a new device.
A native-boot VHD can be used as the running operating system on designated hardware without any other parent operating system. This differs from a scenario where a VHD is connected to a virtual machine on a computer that has a parent operating system.
VHDs can be applied to PCs or devices that have no other installations of Windows, without a virtual machine or hypervisor. (A hypervisor is a layer of software under the operating system that runs virtual computers.) This enables greater flexibility in workload distribution because a single set of tools can be used to manage images for virtual machines and designated hardware.
You can also deploy the VHD to a PC that already has Windows installed on it, and use a boot menu to select between the existing version of Windows, or the version on the VHD.
Step 1: Create a VHD from diskpart
On the technician PC:
- From the Command Prompt, open Diskpart.
diskpart - Create and prepare a new VHD. In this example, we create a 25 GB fixed-type VHD.
create vdisk file=C:\windows.vhd maximum=25600 type=fixed - Attach the VHD. This adds the VHD as a disk to the storage controller on the host.
attach vdisk - Create a partition for the Windows files, format it, and assign it a drive letter. This drive letter will appear in File Explorer.
create partition primary format quick label=vhd assign letter=v - Exit Diskpart
exit
Step 2: Apply a Windows image to the VHD
On your technician PC, apply a generalized Windows image to the primary partition of the VHD that you created and attached in Step 1.
Dism /Apply-Image /ImageFile:install.wim /index:1 /ApplyDir:V:\
Step 3: Detach the VHD, copy it to a new device, and attach it (optional)
You can deploy the VHD to a device that already has a copy of Windows installed on it, or you can clean and prepare the destination PC's hard drive to use the VHD.
Detach the VHD and save it to a network share or storage drive
- Use diskpart to detach the virtual disk from your technician PC.
diskpart select vdisk file=C:\windows.vhd detach vdisk exit - Copy the VHD to a network share or removable storage drive. The following maps a drive letter to a network share, creates a directory for the VHD, and then copies the VHD.
net use n: \\server\share\
md N:\VHDs
copy C:\windows.vhd n:\VHDs\
Clean and prepare a new device for native boot
On your destination PC:
- Use your bootable WinPE key to boot the destination PC to WinPE.
- Clean and prepare the destination PC's hard drive. Create a system partition (S), and a main partition (M) where the VHD will be stored.BIOS:
diskpart select disk 0 clean rem == 1. System partition ====================== create partition primary size=100 format quick fs=ntfs label="System" assign letter="S" active rem == 2. Main partition ======================== create partition primary format quick fs=ntfs label="Main" assign letter="M" exitUEFI:diskpart select disk 0 clean convert gpt rem == 1. System partition ========================= create partition efi size=100 format quick fs=fat32 label="System" assign letter="S" rem == 2. Microsoft Reserved (MSR) partition ======= create partition msr size=128 rem == 3. Main partition =========================== create partition primary format quick fs=ntfs label="Main" assign letter="M" exit - Connect to the network drive or storage location where you copied the VHD in step 3.2.
net use N: \\server\share - Copy the VHD from the network drive or storage location to the destination PC's main partition.
copy N:\VHDs\Windows.vhd M:
Attach the VHD
- While still booted into WinPE, attach your VHD to the destination PC.
diskpart select vdisk file=M:\windows.vhd attach vdisk - Identify the attached VHD's volume letter. (Optional: Change it to another letter that makes more sense, for example V, and leave the diskpart command line open for the next step).
list volume
select volume 3
assign letter=v
Step 4: Add a boot entry
- From your destination PC, open Diskpart (if necessary) and identify the drive letters of the VHD and the system partition, for example, V and S.
diskpart list volume exit - Add a boot entry to the device. You can add multiple VHD files using this method.BIOS:
V: cd v:\windows\system32 bcdboot v:\windows /s S: /f BIOSUEFI:V:\ cd v:\windows\system32 bcdboot v:\windows /s S: /f UEFI - Remove the Windows PE USB key.
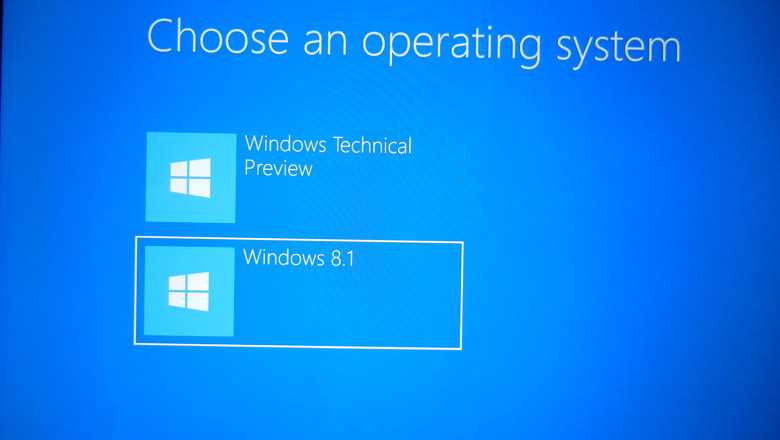
- Restart the destination PC.If there's only one boot entry, the device immediately boots to Windows. If there's more than one boot entry, you'll see a boot menu where you can choose between the available versions of Windows on the device.


Post a Comment